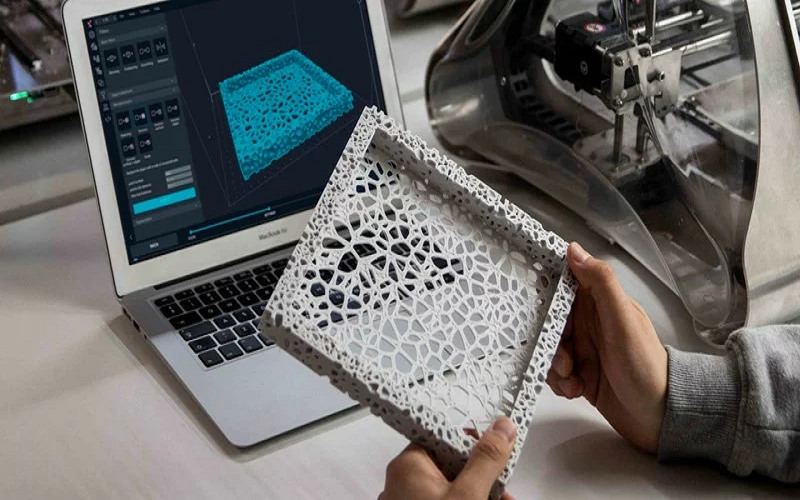
In 3D printing, wall thickness is crucial for determining the quality, strength, and appearance of a printed part.
It refers to the thickness of the model’s outer shell or internal structure, directly influencing its ability to withstand forces, fulfill its function, and achieve the desired aesthetics. The process to 3d print a model requires careful consideration of wall thickness to ensure optimal results.
However, selecting the right wall thickness is not a straightforward task. Various factors, such as printing technology, material type, and nozzle size, can impact the wall thickness requirements.
Beginners might design unprintable models due to inexperience, while professionals may struggle with optimization challenges.
This guide offers clear and practical advice for users at different levels, helping them understand wall thickness 3d printing design and create strong, beautiful 3D prints.
What Is Wall Thickness In 3D Printing?
Wall thickness in 3D printing refers to the thickness of the outer wall or shell of a 3D printed part, excluding the top and bottom layers.
It is fundamentally different from infill or layer height. The importance of wall thickness cannot be overstated—it plays a crucial role in determining the stability and strength of 3D prints.
If the wall thickness is too thin, the printed part becomes fragile, prone to breaking, cracking, or deforming during or after the printing process. Conversely, excessively thick walls can lead to material waste, higher costs, and potential heat dissipation issues, not to mention increased print time.
Striking the perfect balance in wall thickness is essential to creating functional and durable 3D printed objects.

Why Is Wall Thickness Important In 3D Printing Process?
Adjusting 3D printing wall thickness is a critical step in both the design and manufacturing processes, as it directly affects the performance, cost, and success rate of a model. The right wall thickness needs to be tailored to the specific needs, technical constraints, and use scenarios of the print.
For example, a decorative piece may need a thinner wall of around 0.8mm to save material and keep it lightweight, whereas a functional mechanical part like a gear or bracket might require a wall thickness between 2mm and 3mm to withstand loads.
Different 3D printing technologies and materials also impose various minimum and maximum wall thicknesses.
For example, FDM printing is limited by nozzle diameter, usually recommending a minimum wall thickness that is twice the nozzle diameter, such as 0.8mm for a 0.4mm nozzle. SLA, on the other hand, can achieve finer details with a minimum wall thickness as low as 0.4mm due to its higher precision.
Optimizing wall thickness can also enhance printing efficiency and reduce costs. Excessively thick walls can significantly increase material usage and print time, especially for large models, leading to higher costs and potential quality issues due to internal stress accumulation. Conversely, overly thin walls, while saving material, might collapse during printing or get damaged during post-processing.
Adjusting wall thickness appropriately ensures that the printed part meets strength and aesthetic requirements while balancing material usage and print time.
Moreover, the right wall thickness enhances the model’s appearance and print precision, as it affects surface smoothness and detail retention. Properly optimized wall thickness ensures that the printed part achieves its design goals, providing a superior printing experience overall.
Factors Influencing Wall Thickness 3D Printing Selection
In 3D printing, the selection of wall thickness is not made arbitrarily but is influenced by a combination of factors. These factors encompass technology, materials, purpose, and equipment capabilities, which help designers make informed decisions to create prints that meet their needs.
The following are the main factors influencing the choice of wall thickness in 3D printing:
Printing Technologies
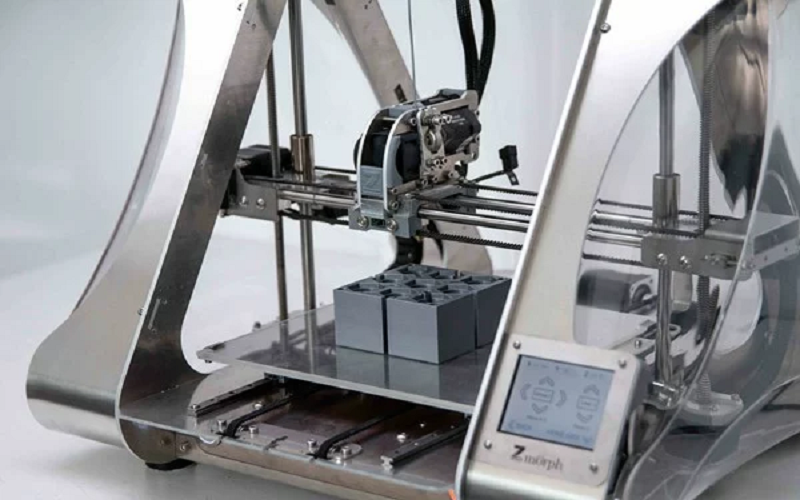
Different 3D printing technologies impose unique requirements and limitations on wall thickness.
For example, FDM (Fused Deposition Modeling) relies on the layer-by-layer deposition of melted material, with the minimum wall thickness typically constrained by the nozzle diameter.
A common recommendation is to have a wall thickness that is at least twice the nozzle diameter, such as 0.8mm for a 0.4mm nozzle, to ensure structural stability and precision.
In contrast, SLA (Stereolithography) uses laser-cured resin, allowing for higher precision and minimum wall thicknesses as low as 0.4mm, making it suitable for intricate models.
Selective Laser Sintering (SLS), which uses powdered materials, requires wall thicknesses that consider particle size and sintering strength, typically recommending a minimum of 1mm to ensure adequate part strength.
Material Type
The physical and chemical properties of the different materials significantly influence wall thickness choices.
PLA, known for its brittleness, requires a wall thickness of at least 1mm to avoid fragility, and for higher strength, PLA 3d prining wall thicknesses may need to be increased to over 2mm.
ABS, with better toughness, can maintain functionality at slightly thinner wall thicknesses but still requires consideration of thermal shrinkage effects on thicker walls.
Meanwhile, rubber-like materials like TPU must have a higher wall thickness, around 2.0 mm, though if you want your part to be flexible then users don’t want walls that are too thick as it will make the part bulky.
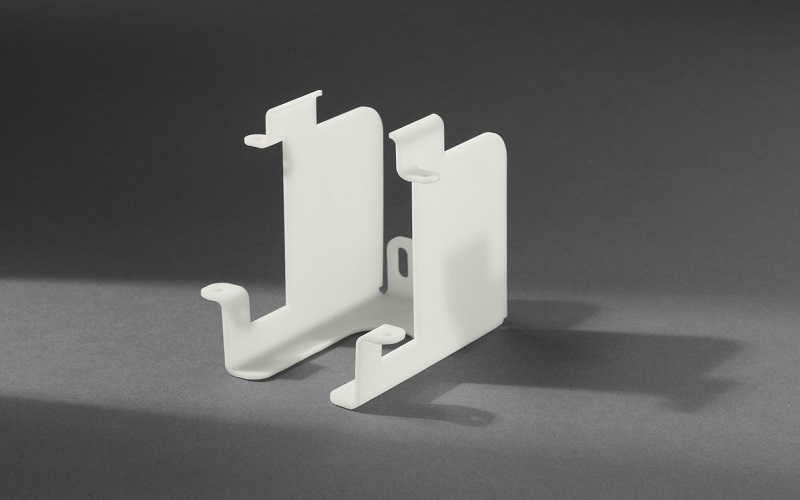
Model Scale
The scale and structure of a model play a crucial role in determining the appropriate wall thickness. Self-supporting structures can manage with thinner walls, but parts that must bear significant loads, such as table legs, require wall thicknesses of at least 2mm for stability.
Additionally, the orientation of the model affects wall thickness requirements—vertical walls can be as thin as 0.3mm, while horizontal walls need to be thicker, around 2mm, to ensure the correct wall thickness for adequate support.
Printer Accuracy and Nozzle Size
The hardware capabilities of the 3D printer, including nozzle size and accuracy, directly impact wall thickness designs.
For instance, FDM printers with a 0.4mm nozzle are typically recommended to have wall thicknesses that are double the nozzle diameter, ensuring the printer can accurately extrude and build material layers.
Printer resolution and layer height settings also influence wall thickness—lower layer heights (e.g., 0.1mm) are better for thinner walls to maintain detail, while higher layer heights (e.g., 0.3mm) are more suitable for thicker walls to enhance efficiency. Mismatched wall thickness and printer capabilities can result in failed prints or poor surface quality.
3D Printing Wall Thickness Design Rules and Recommendations
Designing wall thickness for 3D printing requires balancing technical constraints and practical needs. Proper wall thickness ensures successful prints and optimizes strength, material usage, and appearance.
The following sections provide detailed guidelines on the minimum, maximum, and optimal wall thicknesses for different technologies and materials, helping designers achieve the recommended wall thickness for the best wall thickness results.
Minimum Wall Thickness of 3D Printing
Minimum wall thickness refers to the smallest distance between the inner and outer surfaces of a model, crucial for the strength and feasibility of the printed part.
For FDM, the recommended minimum wall thickness is twice the nozzle diameter (e.g., 0.8mm for a 0.4mm nozzle) to ensure proper material extrusion and adhesion.
SLA, with its high precision, can achieve minimum wall thicknesses as low as 0.4mm, suitable for detailed models. SLS typically recommends a minimum of 1mm to prevent insufficient sintering.
Material-specific minimum thicknesses include 0.5mm for resin, 0.8mm for PLA, and 0.8mm for metals, while flexible materials like TPU require at least 2mm for adequate flexibility and strength.
Maximum Wall Thickness of 3D Printing
While there is no strict upper limit for wall thickness, it should be set within a practical range based on functionality and cost-effectiveness. FDM models typically benefit from wall thicknesses between 3mm and 5mm for most functional needs, such as mechanical parts.
Walls thicker than 5mm are generally reserved for applications requiring extreme strength or insulation, such as industrial molds. However, excessively thick walls can lead to material waste, extended print times, and issues like internal stress and cracking, especially with a thicker wall and thin wall.
It’s advisable to evaluate the actual load requirements and consider structural optimizations, such as adding ribs, instead of simply increasing wall thickness.
Recommended Wall Thickness
Between the minimum and maximum wall thicknesses lies an optimal range that balances strength and efficiency. For FDM printing, a wall thickness range of 1.2mm to 3mm is generally recommended. A thickness of 1.2mm provides sufficient rigidity for lightweight functional parts or decorative items, while 3mm can handle moderate loads without excessive material use.
This range suits most common materials like PLA, ABS, and PETG and aligns well with standard nozzle sizes, such as 0.4mm. Designers should adjust wall thickness based on the intended use, favoring thinner walls for appearance-focused models and thicker walls for durability-focused parts.
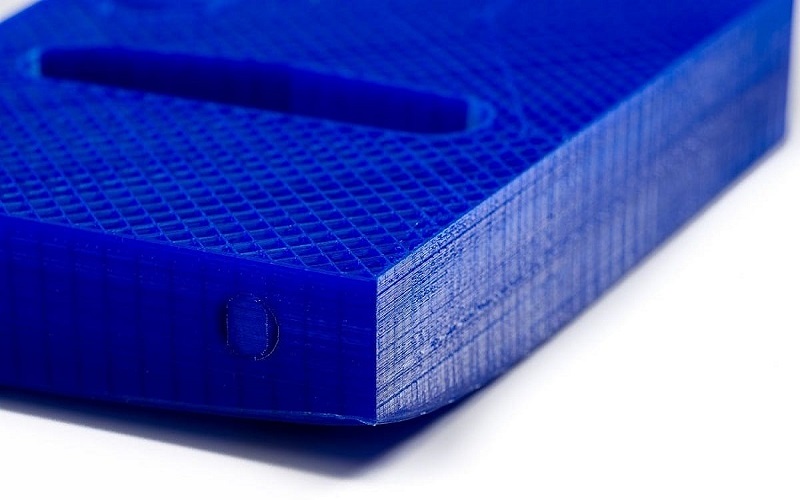
Common Issues With Incorrect Wall Thickness
Incorrect wall thickness settings can lead to a variety of problems in 3D printing. Thinner walls might reduce the strength and stability of the printed part, increasing the risk of failure.
Excessively thin walls can also cause defects or failures during printing, resulting in wasted resources and the need for reprints. Common issues include warping, curling, and loss of detail, which can compromise the quality and functionality of the final product.
Ignoring the maximum wall thickness can lead to internal stress, cracking, or breaking, while thick walls may fail at weak points due to thermal stress. Following wall thickness important guidelines is essential to ensure structural integrity and a good surface finish.
Warping
Warping occurs when parts bend or distort due to uneven cooling and contraction during printing. Thinner walls are more susceptible to warping and cracking during or after the printing process, as they may not effectively handle physical stress.
Strategies to reduce warping include designing rounded edges to distribute thermal stress more evenly and ensuring sufficient contact between printed layers to prevent sagging, bowing, or disconnected parts.
Non-functional figurines with thin walls are particularly prone to creeping or cracking after detachment from support structures.
Curling
Curling refers to the lifting and peeling of print edges from the bed, often due to poor adhesion or uneven cooling. This issue is closely related to wall thickness, as thinner walls may not adhere properly to the print bed, leading to curling.
Ensuring proper bed adhesion and maintaining an even temperature can help mitigate curling issues.
Loss of Detail
Scaling a model often requires adjustments in wall thickness to retain fine details. Thinner walls may lack the structural integrity to support intricate features, leading to a loss of detail. Proper wall thickness is crucial for enhancing print quality and ensuring that fine details are accurately captured in the final print.
Incorrect wall thickness can lead to common issues such as loss of detail, warping, or structural failures during or after printing.
Tools and Techniques For Measuring and Adjusting Wall Thickness
Measuring and adjusting wall thickness is vital to ensure the structural integrity and quality of 3D printed models. Various tools and techniques can aid in this process, from digital measurement tools to specialized software settings. Using calipers, micrometers, and ultrasonic thickness gauges helps verify determining wall thickness of printed parts, ensuring they meet design specifications.
Digital thickness gauges provide quick and precise readouts, making them suitable for various wall thicknesses. Accurate measurement and adjustment of wall thickness can significantly enhance print reliability and performance. The following subsections detail the use of slicer software settings and manual measurement tools.
Slicer Software Settings
Slicing software plays a crucial role in customizing wall thickness for 3D printing. These programs can detect walls that are too thin and offer parameters for printing fine details. Two common approaches to determining shell thickness in 3D printing are line count or width/height in millimeters. The ‘detect fine features’ parameter allows printing walls as thin as the nozzle diameter, optimizing the balance between detail and strength.
While some printers come with slicer software that helps optimize wall thickness, manual adjustments may still be required to achieve the best results. Increasing wall line width and count results in stronger parts but also extends print times and increases material usage.
Manual Measurement Tools
Various manual measuring tools are essential for ensuring accurate wall thickness in 3D printing. Tools like calipers, rulers, and specialized measurement instruments allow for precise evaluation of wall thickness in different areas of a printed model. Accurate measurement is crucial for ensuring structural integrity and print quality in 3D models.
Using these tools helps verify that the printed parts meet the intended design specifications and enhances overall print performance and reliability.
Expert Tips for Achieving Optimal Wall Thickness
Achieving the perfect wall thickness in 3D printing requires a blend of experience, testing, and fine-tuning. Accurate measurement is vital for ensuring strong and functional 3D prints. After conducting test prints, adjust thickness parameters based on the outputs to refine the settings.
Balancing strength and detail is critical for achieving optimal wall thickness, ensuring the printed parts meet both aesthetic and functional requirements. The following subsections provide expert advice on testing, iteration, and balancing strength and efficiency.
Testing and Iteration
Testing and iteration are essential for achieving high-quality 3D prints. Evaluate test prints for flaws, brittleness, dimensional accuracy, and fine details to inform wall thickness selection. Ongoing testing and refinement of thickness settings are crucial for producing reliable parts.
Adjustments to wall thickness should be based on the results of previous test prints, focusing on specific performance metrics to achieve the desired outcomes.
Balancing Strength and Efficiency
Balancing strength and material efficiency is critical for optimal 3D printing outcomes. Thicker shells can enhance the strength of functional parts compared to using equivalent infill material. In addition to increased strength, thicker shells provide added flexibility in printed parts.
Strategies for balancing strength and efficiency include evaluating wall thickness and optimizing shell design to meet specific requirements.
Summary
In conclusion, understanding and optimizing wall thickness in 3D printing is essential for creating strong, functional, and aesthetically pleasing parts. This guide has covered the importance of wall thickness, factors influencing its selection, design rules, common issues, and tools and techniques for measurement and adjustment.
Leading 3D printing companies, such as those pioneering advanced manufacturing solutions, emphasize these principles to deliver high-quality results for diverse applications.
By following these guidelines, users can achieve the best possible outcomes in their 3D printing projects, whether working independently or collaborating with 3D printing companies for professional-grade production.
Remember, the key to successful 3D printing lies in continuous testing, iteration, and balancing strength with efficiency. Embrace these principles, and you’ll be well on your way to mastering wall thickness design in 3D printing.